KigguClient allows you to extend the capabilities of Kiggu so that you can run scans within your internal network.
In order to install KigguClient inside your LAN you just need to download the indicated installer and perform the required configuration.
Installing KigguClient
Before starting to describe the installation process, the minimum installation requirements for the KigguClient are as follows:
- Windows server 2019 or higher. Windows 8 or higher.
- Stable internet connection for HTTPS and SSH protocols.
- i3 processor equivalent or higher including at least 4 GB of RAM
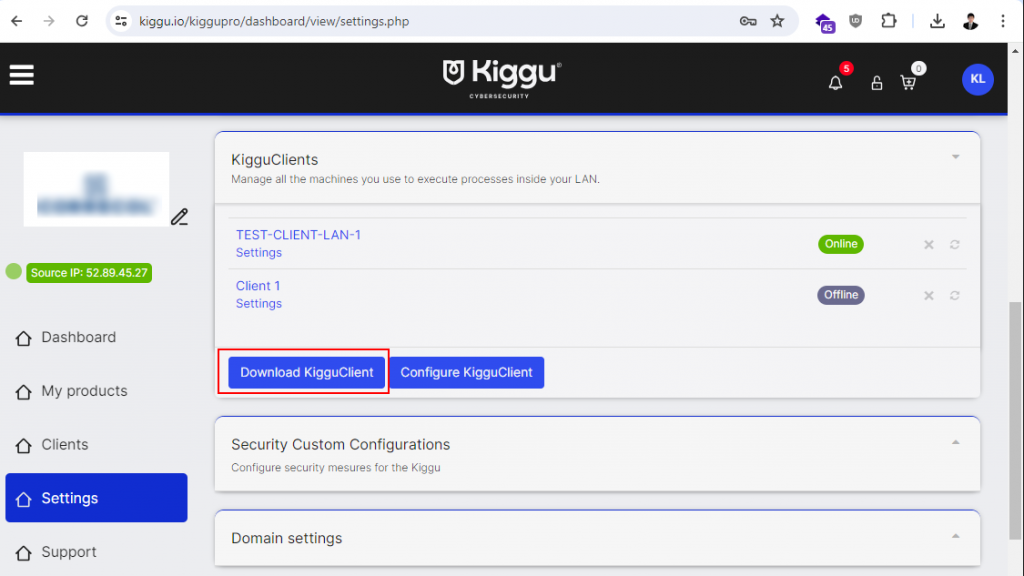
In order to proceed with the KigguClient installation, you need to have the installer. If you don’t have it, you can download the software by clicking on the following button on the settings section.
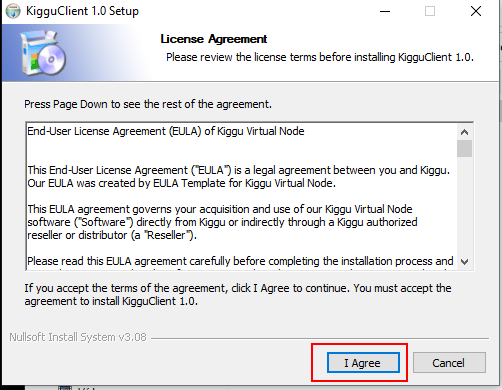
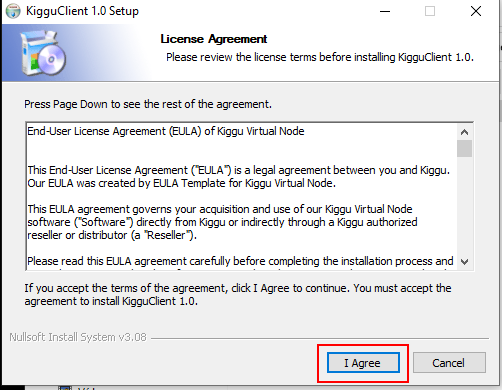
Upon completion of the download process, open the executable and start the installation process by clicking agreeing to the license agreement
Then click next in the components section.

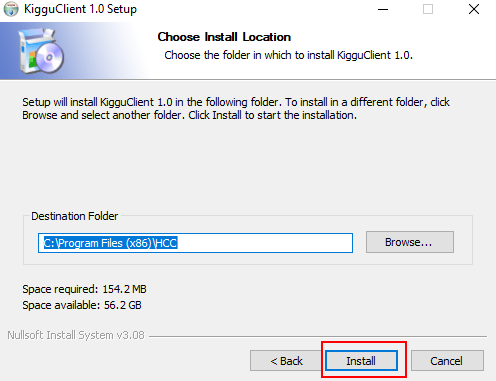
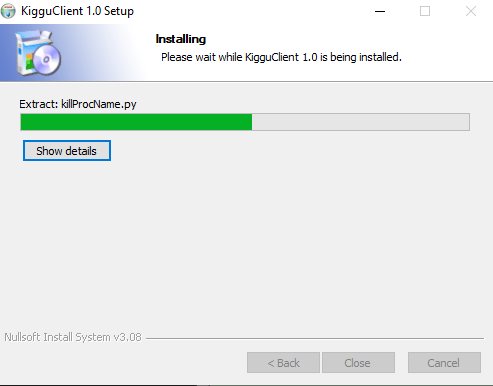
Once you get to the install button click it to start the installing process.
Wait until the progress bar gets full. And do not close it yet.
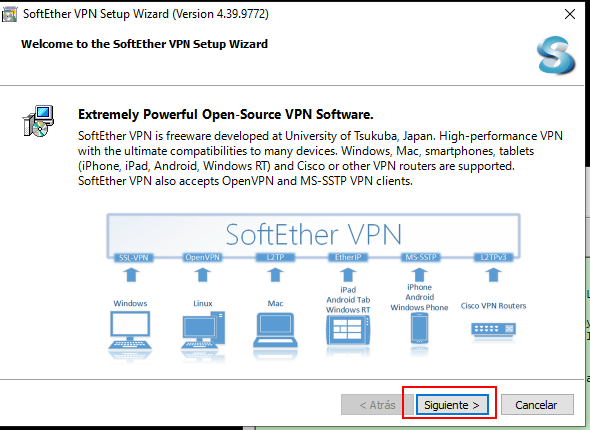
Another installation window will pop up. Just click on next.
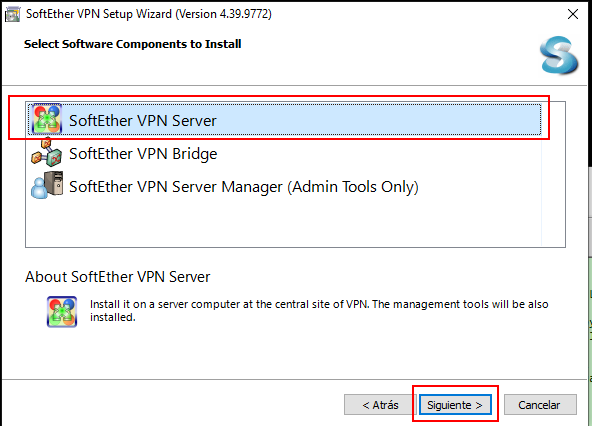
Then make sure the first options is selected and click on the next button.
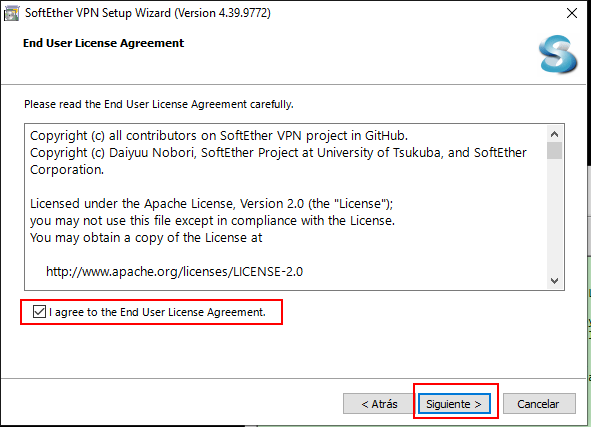
Next, agree to the new license agreement and click on next.
Once you get to the installation path, click on next again.
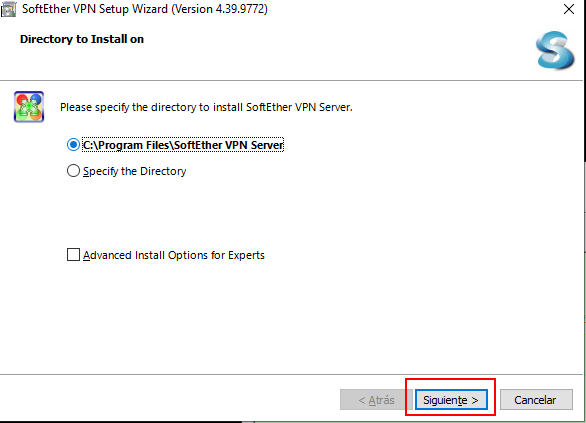
Once again, click on the next button.
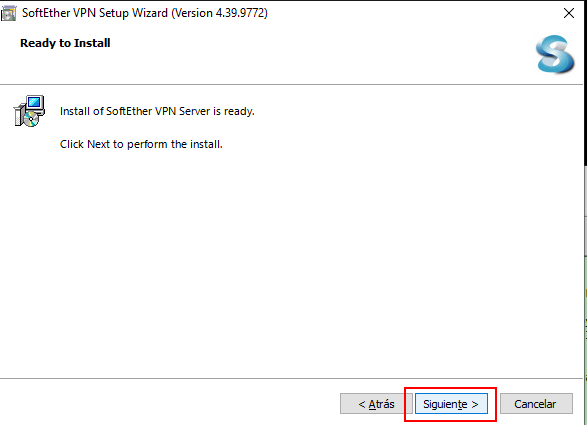
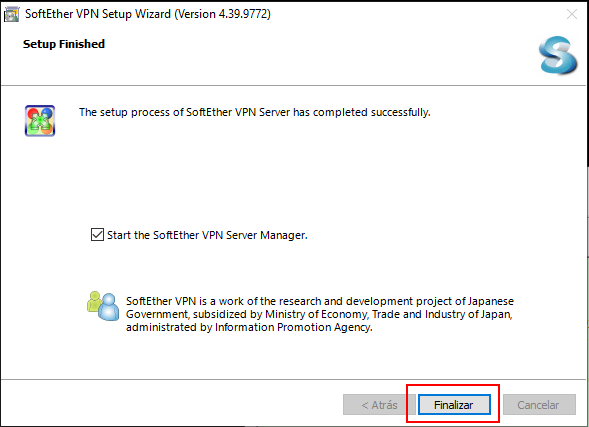
Wait until the installation process is over and click on finish.
KigguClient configuration
To begin the process, you must generate a code to be able to perform the linking of the client to your account.
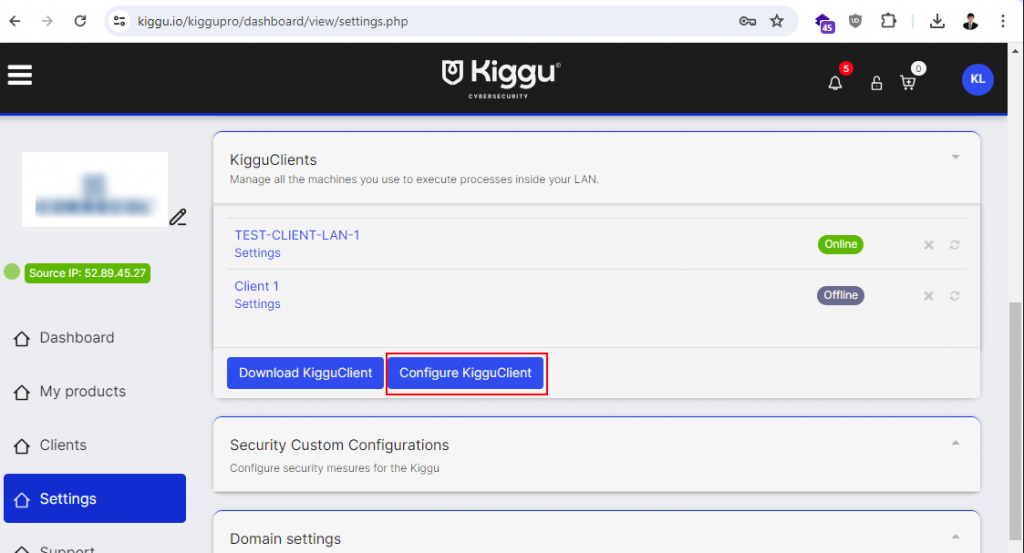
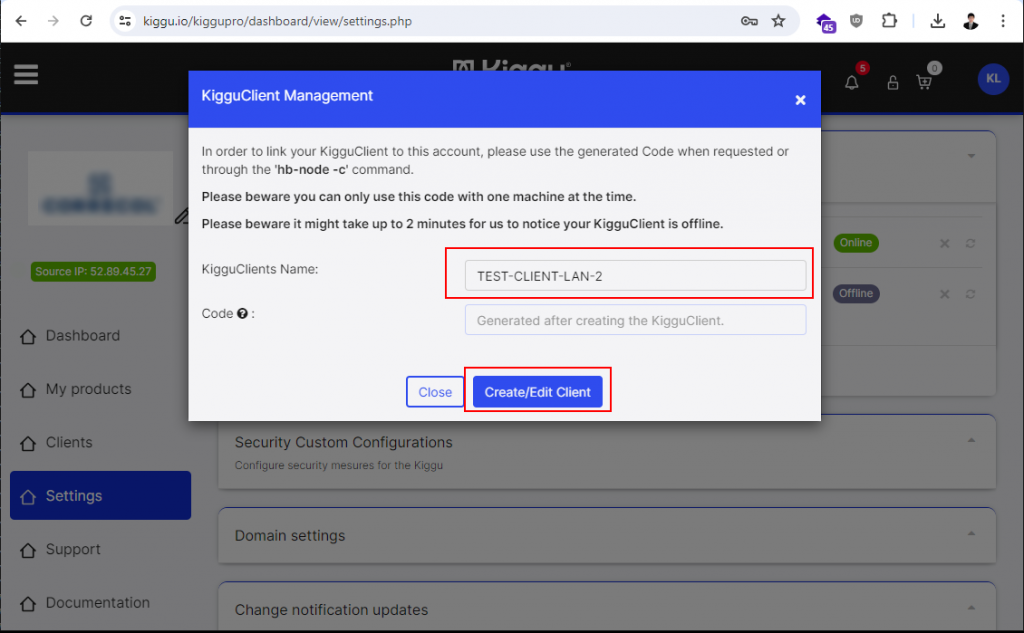
First login to your Kiggu account and go to the KigguClient section in the settings area. Click on the ‘Configure KigguClient’ button.
A window will appear requesting a name for your client. You can enter any name you like. Click ‘Create/Edit KigguClient’.
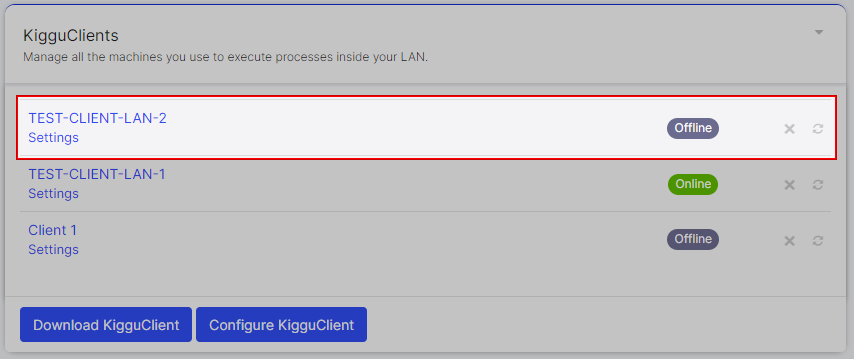
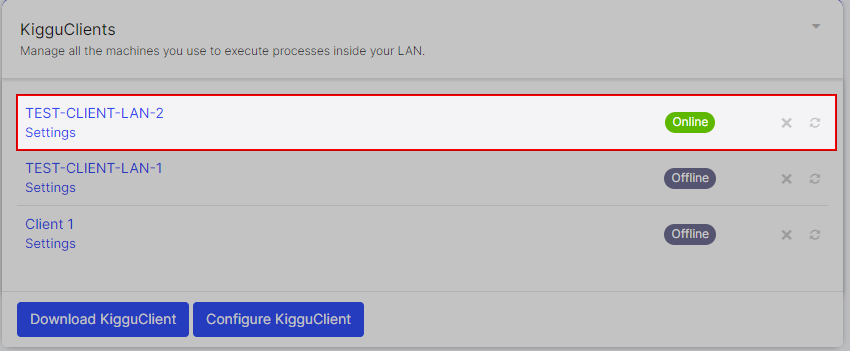
When you close the window you will notice that the client appears. Click on its name.
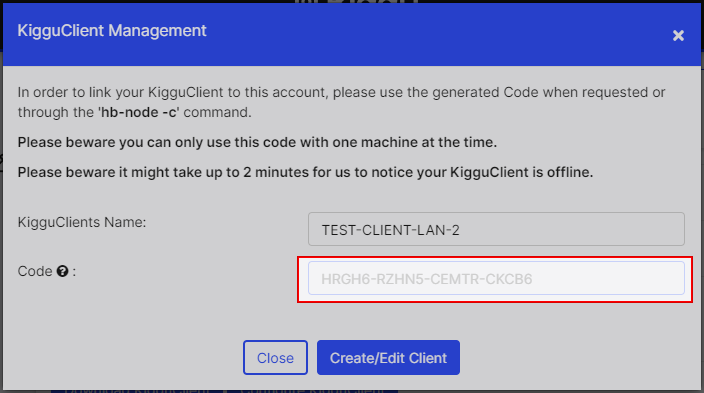
Now copy the code that appears under the client name. This code will be needed later on.
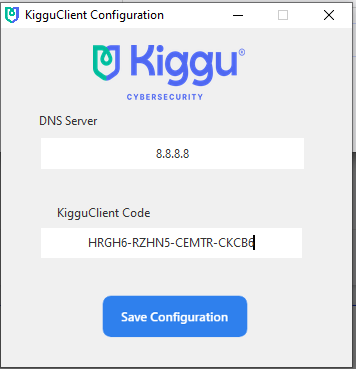
Go to your Desktop and click on the Kiggu Shortcut the installer created, now paste the code in the respected field and click on the save button. Notice you can also type the DNS server you use in your internal network.
Now wait for a couple of minutes, if you check the settings section, your client will go online.
Using your Client
To use your KigguClients, when configuring any service, click on the ‘Scanning Scenario’ dropdown menu and select the LAN scenario option with the device you intend to use. Then, continue as you normally do.
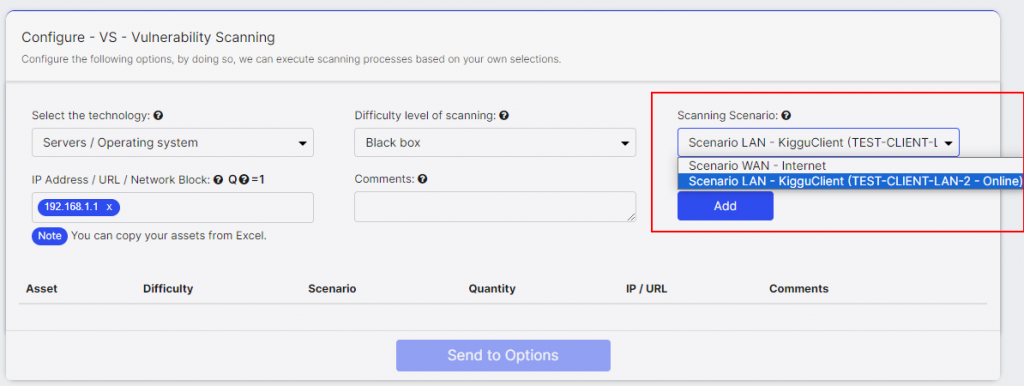
Please note that only active clients will be listed on the Scanning scenario dropdown.
Warning
Please remember that if at the moment of launching the scan the Client is offline or it is not possible to detect the active IP within the network. The scan will be paused, and you will have to login to relaunch it.
Troubleshooting
My LAN scan was paused
If after running your scan, it is automatically paused, then the bot in charge of the test was not able to establish a connection with the specified client. Please make sure in settings that your client is online.
My KigguClient never updates to Online
If your client is always offline, two problems may exist.
The first one implies that the code configured in the client is not correct, in that case please open the installed software and make sure that the code matches the one shown in the platform.
The second implies that the machine on which it is installed does not have internet access. Remember that your network must allow HTTPS and SSH connections to the internet.